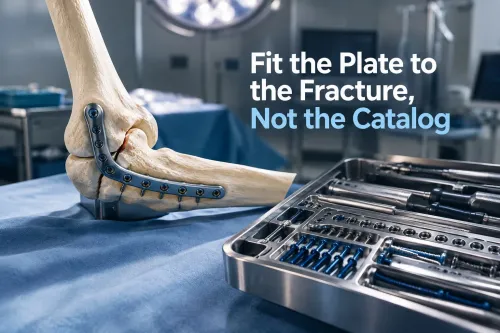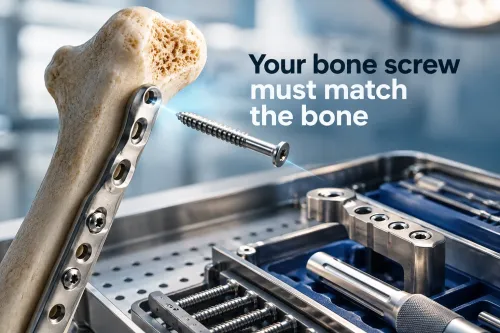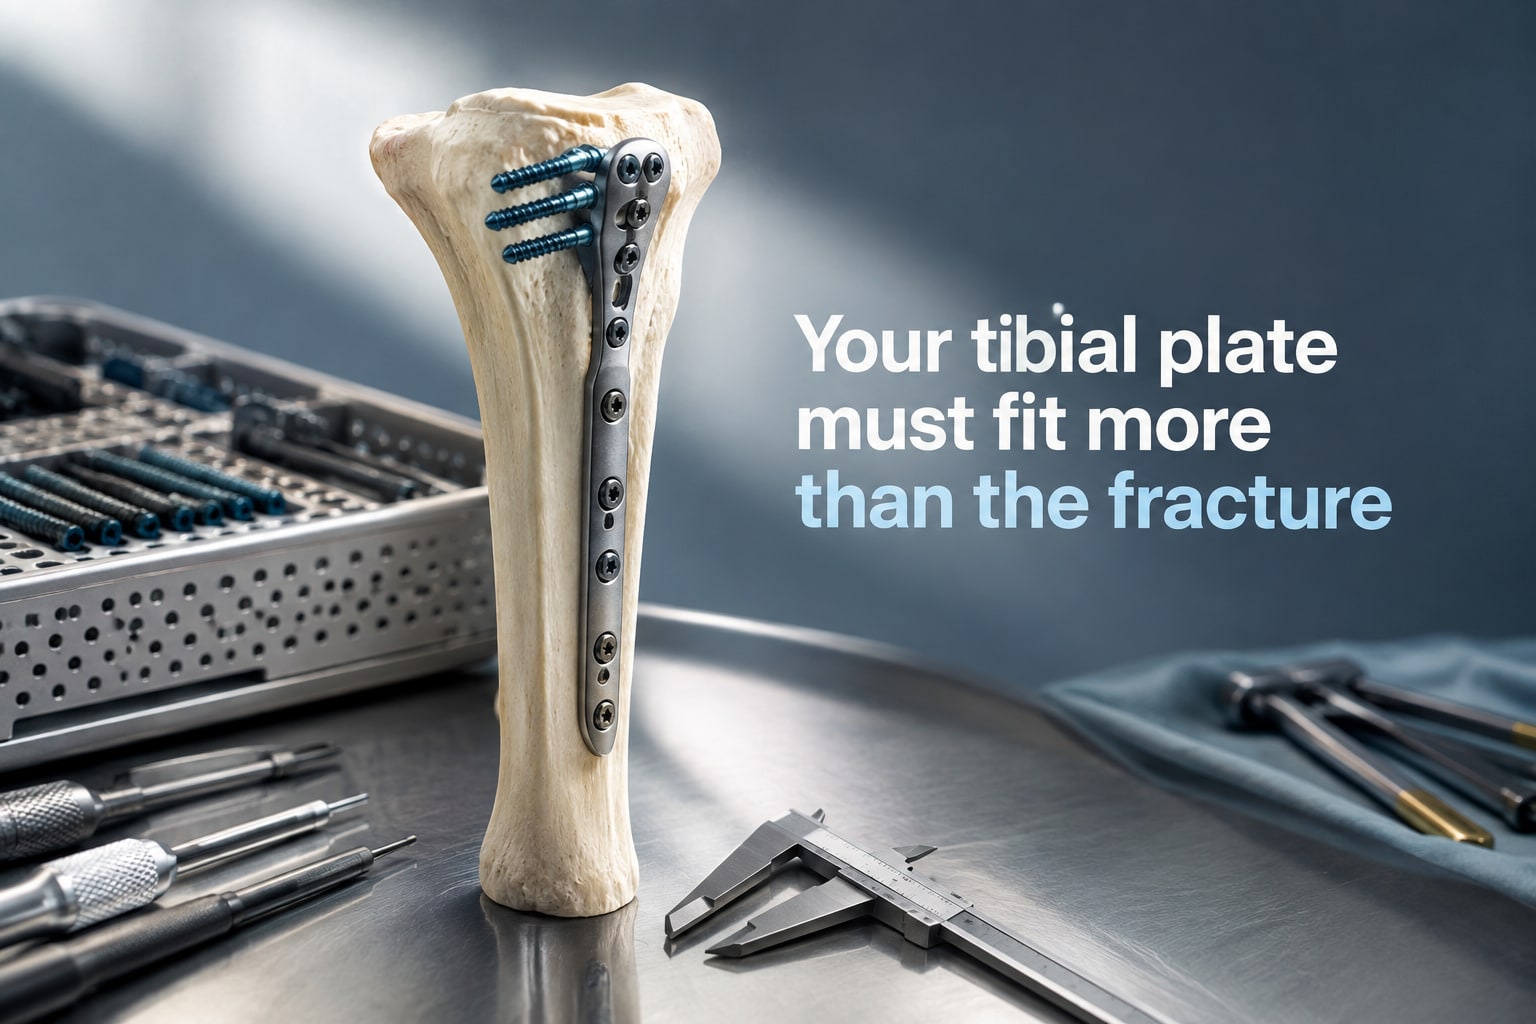
A plate can be correctly manufactured and still be wrong for the fracture, the limb side, the soft-tissue condition, or the intended screw plan. By checking the fracture columns, plate geometry, construct stiffness, screw trajectories, and ordering documents in sequence, you can identify avoidable failures before surgery.
Key takeaways
- Match the plate to the fracture columns, plateau pattern, and intact tibial anatomy.
- Add independent reduction or column support when locking screws cannot control the fracture.
- Plan plate length, hole distribution, and proximal screw trajectories before ordering.
- Verify material, dimensions, instrumentation, sterilisation, and traceability documents with the supplier.
How do you confirm that the plate matches the fracture and the tibia?
Confirm the plate against the fracture map and the intact tibia before ordering. A true proximal tibial plate must address plateau or proximal metaphyseal anatomy, not merely sit on the lateral tibial shaft. Choose lateral, medial, or raft-style fixation from the involved column, plateau depression, metaphyseal comminution, bicondylar pattern, bone quality, and soft-tissue condition.
| Product type | Distinguishing check | Ordering risk |
|---|---|---|
| True proximal tibial | Broad proximal contour, plateau-directed holes, left/right versions | Wrong trajectory or varus malalignment |
| Distal tibial | Narrower distal contour and ankle-region hole pattern | Poor fit at the plateau |
| Distal fibula | Fibular contour and lateral-malleolus holes | Cannot support tibial columns |
| Generic lateral tibial | Shaft-focused layout without adequate raft or column capture | Leaves articular fragments unsupported |
A lateral plate alone can leave a medial or posteromedial fragment unsupported. In comminuted or osteoporotic bone, that gap permits varus collapse; bicondylar fractures may need dual-column fixation or supplemental medial support. Locking does not solve these proximal tibia fixation issues.
Before approval, verify:
- Left or right orientation, proximal contour, hole spacing, and the screw-angle layout on AP, lateral, and oblique overlays.
- Whether the plate follows restored alignment rather than forcing the proximal segment into varus, valgus, procurvatum, or recurvatum.
- Whether swelling, fracture blisters, or damaged skin make staged fixation safer; these locking proximal tibial plate problems are not solved by choosing a stronger plate.
When is a locking construct insufficient for reduction or column support?
A locking construct is insufficient when fixed-angle stability has been mistaken for fracture reduction. Locking screws do not create interfragmentary compression, so an articular split, depressed plateau fragment, or metaphyseal gap may require lag screws, nonlocking compression holes, bone graft or substitute, and a defined reduction sequence. This is a central locking tibial plate problem.
| Construct | What it does | When it applies |
|---|---|---|
| Bridge plating | Spans comminution while preserving the fracture zone | Metaphyseal comminution with acceptable alignment and no compression requirement |
| Compression construct | Brings selected fragments together and restores contact | Simple articular or metaphyseal splits requiring interfragmentary compression |
| Hybrid construct | Combines lag or nonlocking compression with fixed-angle support | A reduced split or depression with weak metaphyseal or subchondral bone |
Treating every fracture as a bridge construct can leave a gap, an unreduced joint surface, or an unsupported column. A locking plate alone is the wrong plan when the fracture requires dual-column fixation, supplemental medial support, or targeted capture of an oblique or posterolateral fragment; a lateral plate can then permit varus collapse.
Polyaxial plates help only within their tested limits. Before choosing one, verify the permitted angulation, edge-of-range strength, compatible screw types, and dedicated drill guides. “Polyaxial” does not make every trajectory mechanically equivalent.
In osteoporotic bone, fixed-angle screws still depend on subchondral distribution and column support; pull-out, peri-screw fracture, or collapse can follow when those are inadequate.
How should plate length, hole distribution, and proximal screws be planned?
Plan the construct from the fracture’s fixation zones, not from plate length alone.
1. Select a plate that spans the metaphyseal injury and extends onto adequate intact diaphysis. Keep the end away from the fracture line, severe cortical defect, and transition to intact bone; an end in any of these zones concentrates stress. Check hole spacing, distal purchase, soft-tissue coverage, and whether the patient can tolerate the approach.
2. Place enough distal screws in intact diaphysis for stable purchase, then avoid filling nearly every hole beside the fracture. A short working length creates excessive stiffness and can concentrate stress at the plate ends.
| Construct choice | Main hazard | Typical consequence |
|---|---|---|
| Inadequate span or distal purchase | Weak fixation near the fracture | Collapse, delayed union, nonunion, or breakage |
| Nearly every hole filled | Excessive stiffness and short working length | End stress, delayed union, nonunion, or breakage |
| Balanced bridge span and screw density | Controlled load sharing | Better preservation of fracture biology |
3. Choose proximal locking screws according to fragment size, subchondral support, column capture, and bone quality—not a fixed number. Map each trajectory around posterior slope and depression fragments; check lengths and paths on AP, lateral, and oblique views. CT helps with complex plateau morphology.
4. Confirm that screws do not penetrate the joint or enter the proximal tibiofibular joint, fibular head, or posterior soft tissues. Avoid hazardous long paths toward the popliteal neurovascular bundle and common peroneal nerve. These checks prevent proximal tibial plate complications that a nominally correct AP image can miss.
Which material and position choices create avoidable clinical problems?
Material choice is a trade-off, not a winner-takes-all decision. These tibial fracture plate concerns include stiffness, imaging, cost, corrosion, and compatibility with implants already in the patient or instruments already in the theatre.
| Material | Practical advantage | Avoidable problem |
|---|---|---|
| Titanium | Lower stiffness and less CT artefact than stainless steel | Higher cost; confirm compatible screws, drivers, and bending instruments |
| Stainless steel | Greater stiffness and broad instrument compatibility | More radiographic and CT artefact; mixing with titanium requires corrosion review |
| Mixed metals | May preserve existing implant compatibility | Direct contact can create galvanic corrosion; follow the manufacturer’s mixing guidance |
Plate position creates another failure point. A prominent or overly anterior lateral plate can irritate the iliotibial band and delay healing; a medial plate has little soft-tissue cover. Check the proximal contour, thickness, footprint, and removal implications before accepting a design that may require later extraction.
Swelling, fracture blisters, compromised skin, and a high-energy plateau injury can make immediate definitive plating unsafe. Staged external fixation followed by delayed fixation may reduce wound and infection risk.
In osteoporotic bone, locking screws can still pull out, cause peri-screw fracture, or permit subchondral collapse. Locking does not replace adequate plate length, subchondral screw distribution, column support, or bone-quality assessment. A lateral plate that leaves a medial or posteromedial fragment unsupported can still collapse into varus.
What must you verify with the supplier before placing the order?
Send the supplier this checklist before you place the order. It targets common locking proximal tibial plate problems and prevents avoidable proximal tibia fixation issues:
1. Confirm the exact anatomic designation: proximal tibia, not distal tibia, distal fibula, or generic lateral tibia; specify medial, lateral, or raft-style use, plus left or right orientation.
2. Request an overlay or contour drawing showing the proximal footprint, plate length, hole spacing, end position, and available distal fixation.
3. Request the proximal screw-angle map, permitted polyaxial range, edge-of-range locking strength, and confirmation that trajectories avoid the joint, posterior neurovascular structures, fibular head, and proximal tibiofibular joint.
4. List every compatible screw diameter and length. Confirm which holes accept locking screws, cortical screws, and compression screws, and whether mixed use requires specific drill bits or insertion steps.
5. Obtain the dedicated drill guides, depth gauges, insertion instruments, and radiographic templates. Ask for AP, lateral, and oblique planning views or templates.
6. Require written material information for titanium or stainless steel, implant-mixing guidance, cleaning and sterilization instructions, and traceability documents covering lot, batch, and implant identification.
Komal Health Care Pvt Ltd can provide product-specific drawings, compatible instrumentation details, and documentation for supplier review. The surgeon remains responsible for matching the construct to the fracture, bone quality, alignment, and soft tissues.
Related products
 | Orthopedic Implants Locking Medial Proximal Tibial Plate ₹4200 We Are The Manufacturer Of Locking Medial Proximal Tibial Plate , Available in Left & Right Sides . View product → |
 | Orthopedic Implants Locking Proximal Tibial Plate , RAFT ₹4200 We Are The Manufacturer Of Locking Proximal Tibial plate Also Known As RAFT , Size Are From 4 Holes To 14 Holes , In difference Of 1 Holes . View product → |
Frequently asked questions
How do you confirm that a proximal tibial plate matches the fracture and tibia?
Compare the fracture map with the involved lateral or medial column, plateau depression, metaphyseal comminution, and bicondylar pattern. Check the plate against the intact tibia for contour, side, length, proximal coverage, and soft-tissue clearance.
When is a locking construct insufficient for reduction or column support?
Locking screws provide fixed-angle fixation but do not replace fracture reduction or missing-column support. Add direct reduction, lag fixation, a buttress or rafting strategy, or an additional plate when the fracture has substantial shear, a free articular fragment, medial-column instability, or metaphyseal voids.
How should plate length, hole distribution, and proximal screws be planned?
Choose enough length to spread fixation beyond the comminuted zone, preserve usable holes around the fracture, and avoid concentrating screws at one level. Plan proximal screws for subchondral rafting and fragment capture while checking trajectories against the joint surface and each other.
Which material and position choices create avoidable clinical problems?
Check whether the alloy, stiffness, profile, and surface finish suit the fixation plan and patient factors. Avoid excessive plate prominence, poor contour, placement that threatens the iliotibial band or pes tendons, and screw paths that enter the joint or conflict with the opposite column.
What must you verify with the supplier before placing the order?
Request the exact side, plate dimensions, hole pattern, screw diameter and length range, compatible instruments, material specification, packaging and sterilisation status, lot or batch traceability, instructions for use, and evidence of regulatory clearance for the destination market.