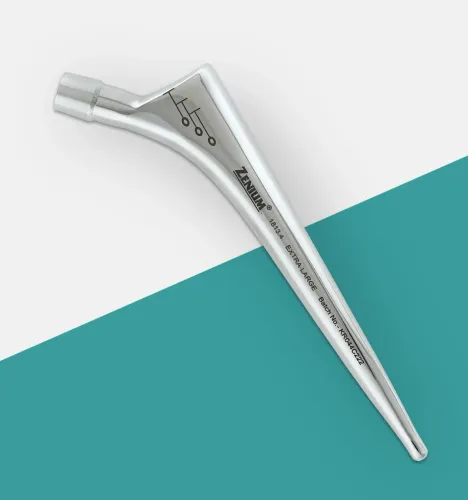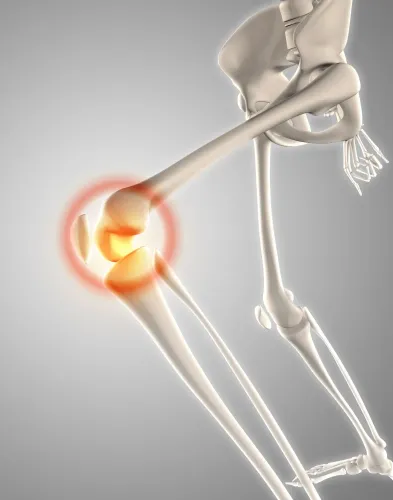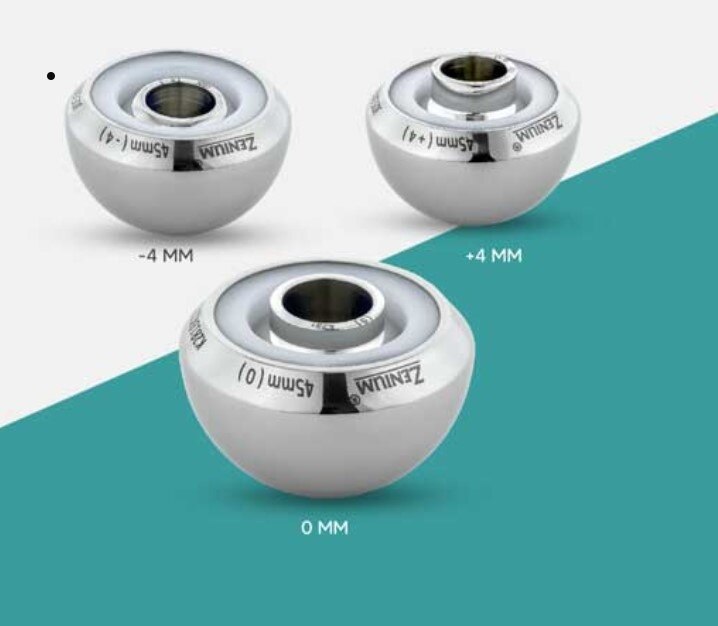
A cemented femoral stem needs more than the implant itself: the canal must contain cement at the planned depth and maintain pressure while the stem is inserted. By checking the fixation plan, canal measurements, plug position, and supplier documentation, you can distinguish a necessary restrictor from an unsuitable or incorrectly selected accessory.
Key takeaways
- Use a distal restrictor when the femoral stem will be fixed with bone cement.
- Set depth from preoperative templating and the planned stem tip, not a fixed rule.
- Confirm restrictor seating before injecting and pressurising bone cement.
- Check the device’s size range, insertion tools, radiopacity and instructions for use.
When does a cemented stem actually need a restrictor?
A cemented stem needs a distal restrictor when the femoral component will be fixed with bone cement. That includes a cemented femoral component in a hybrid hip replacement; the acetabular cup or liner does not determine the choice. An uncemented stem procedure does not call for this device.
1. Confirm the fixation plan before surgery. Review the stem, femoral head, acetabular cup or liner, cement, restrictor, centralizer, and instruments as joint replacement prosthesis components that must work as one validated system, not interchangeable accessories.
2. Place the cemented restrictor for joint replacement prosthesis distal to the planned stem tip. It contains cement so cement cannot escape down the canal, allowing pressurisation and a continuous distal cement mantle.
A common target is about 1–2 cm below the tip, but the stem system’s technique and the surgeon’s templating control the final depth.
3. Keep the products distinct. A distal restrictor seals the canal below the stem; a proximal cement plug sits in a different location; and another canal blocker may serve a different technique. A distal centralizer centres the stem inside the cement mantle rather than containing cement. Some systems use both.
Do not choose a restrictor for an uncemented stem, or when the canal cannot safely retain it because of cortical thinning, defects, perforation, or an enlarged passage. In that situation, forcing an oversized device can damage the cortex and compromise cementing; reconsider the fixation strategy instead.
How should you calculate restrictor depth and size?
Set restrictor depth from the templated stem position, not from a universal measurement. Use the actual stem length, planned tip position, broach or reamer depth, and available canal length; a common target is about 1–2 cm distal to the stem tip, but the stem system’s technique and the surgeon’s plan control.
A plug too close to the tip leaves an inadequate distal cement mantle or permits stem contact. One too far distal increases cement volume, complicates insertion, and makes pressurisation less predictable.
Size the diameter against the prepared canal, not the stem size alone. An undersized restrictor allows cement bypass; an aggressively oversized one can be difficult to insert and threaten a thin femoral cortex. For cemented restrictor applications, confirm:
- The device length leaves sufficient canal below the stem tip while fitting the available prepared depth.
- The diameter matches the broached or reamed canal and the manufacturer’s insertion instrument.
- The material suits the cementing technique and has documented radiopacity, such as a marker or radiopaque compound, so imaging can show position and migration.
- Primary arthroplasty sizing follows the prepared canal and supplied instrumentation, without assuming the same size for every stem.
- Revision planning accounts for old cement, a retained distal plug, cortical defects, osteolysis, or an enlarged canal. These findings can change depth and diameter and determine whether to place a new plug or use cement-in-cement technique.
A retained distal restrictor can obstruct removal of old cement or preparation for a longer stem. Do not force an oversized device into a canal that cannot safely retain it.
What must happen during insertion and cement pressurisation?
The team must prepare, seal, clean, dry, fill and pressurise the canal in a controlled sequence; skipping one step can leave poor containment or raise intramedullary pressure unexpectedly.
1. Broach or ream the femoral canal to the planned stem position, then measure the prepared depth and confirm the stem tip location.
2. Select the restrictor for the prepared canal, not merely the stem size. Insert it to the planned depth with the specified insertion instrument; do not hammer an oversized device into a thin cortex.
3. Confirm depth and alignment before continuing. Check that the plug contacts the canal wall evenly, sits perpendicular to the canal axis and leaves enough space for a continuous distal cement mantle below the stem tip.
4. Brush and pulsatile-lavage the canal. Watch for distal migration, an angled plug, fluid bypass or cement leakage around an undersized device; stop and correct the problem before cementation.
5. Remove irrigation fluid, blood and debris, then dry the canal with suction and the system’s drying materials. Coordinate venting and suction with the restrictor rather than treating them as separate tasks.
6. Deliver cement retrograde through the cement system while observing its stated working time. Fill the canal without losing the prepared mantle space.
7. Pressurise the cement with the planned plugs, seals or instruments and watch for restrictor movement, leakage or loss of containment. Control pressure because intramedullary pressurisation can increase marrow or fat embolic risk, especially in patients with cardiopulmonary vulnerability.
A radiopaque marker or material helps confirm position, migration and distal mantle length on imaging. The restrictor alone does not guarantee cement interdigitation; canal preparation, drying, cement timing and sustained pressure determine fixation.
What changes when the canal or the planned stem is not routine?
A routine primary femoral replacement uses the prepared canal, planned stem position, and supplied broach or reamer instrumentation as the main references for restrictor fit and depth. Revision surgery requires a new plan because the original canal may contain retained cement, an old restrictor, distal cement that must remain, or a longer stem path.
| Situation | What changes | Main concern |
|---|---|---|
| First-use femoral replacement | Size and depth follow the prepared canal and planned stem tip | A standard restrictor may fit as intended |
| Retained cement or old restrictor | Map its location before removing cement or selecting a new plug | The old device can block preparation or prevent a new seal |
| Cortical perforation or thinning | Reassess whether the canal can safely retain a restrictor | Insertion can worsen the defect or fracture the cortex |
| Widened revision canal | Select a device for the prepared canal, or reconsider cement-in-cement technique | A standard plug may leak around its circumference |
A restrictor placed too proximally shortens the distal cement mantle and can let the stem contact the plug. Placed too distally, it increases cement volume and makes pressurisation less predictable; an angled plug creates an uneven mantle, while migration during pressurisation defeats containment after apparently correct insertion.
Confirm compatibility with the planned stem dimensions, cementing technique, canal-preparation method, and any centralizer. If the canal cannot retain the device without cortical risk, do not force an oversized plug; reconsider the cementing strategy.
How should a hospital compare restrictors and suppliers?
Compare a cemented restrictor manufacturer in Buenos Aires with suppliers elsewhere against the exact femoral stem, canal-preparation method, and cementing technique—not against location or the product name alone. Use this checklist:
| Criterion | Ask for | Reject or investigate |
|---|---|---|
| Dimensions | Drawings showing diameter, length, insertion depth, and allowable canal range | Dimensions that do not match the prepared canal |
| Material and imaging | Material specification and radiopacity data | No evidence that position and migration are visible |
| Compatibility | Validated compatibility with the selected stem system | “Universal” claims without validation |
| Instruments | Insertion-instrument drawings and technique | An instrument that cannot control depth or alignment |
| Packaging | Sterile-pack configuration and ISO 11607 evidence | Damaged, unclear, or unvalidated sterile barrier |
| Sterilisation | Named method and validation, such as ISO 11135 for ethylene oxide or ISO 11137 for radiation | An unspecified sterilisation process |
| Use and control | Instructions for use, size markings, shelf life, expiry controls, and lot or batch traceability | Missing markings, expiry checks, or retrievable batch records |
| Quality and safety | ISO 13485 certificate, ISO 14971 risk-management records, and ISO 10993 biological-evaluation information where applicable | Marketing claims without technical evidence |
A hip replacement prosthesis supplier must identify whether each quotation supports a cemented or uncemented femoral system. Confirm Argentine regulatory status directly with the supplier and match every document to the selected stem.
Komal Health Care Pvt Ltd belongs in the comparison only after its sizes, packaging, compatibility evidence, regulatory file, and lot records pass those checks. Poor containment discovered during pressurisation costs more than procurement diligence.
Related product
 | Joint Replacement Cemented Restrictor Manufacturer A Cemented Restrictor Manufacturer produces medical devices used in orthopedic surgeries to control the depth of bone cement during joint replacement... View product → |
Frequently asked questions
When does a cemented stem actually need a restrictor?
Use a distal cement restrictor when a femoral component will be fixed with bone cement, including a cemented stem in a hybrid hip replacement. An uncemented stem does not require one.
How should you calculate restrictor depth and size?
Use the preoperative radiograph and planned stem to determine the restrictor position below the stem tip, then select a size that matches the prepared canal and the manufacturer’s instructions for use. Do not use a universal depth or size.
What must happen during insertion and cement pressurisation?
Insert the restrictor to the planned depth, verify that it is seated and stable, remove loose debris, and confirm that the canal is ready before cement injection and pressurisation. Follow the implant system’s surgical technique.
What changes when the canal or planned stem is not routine?
Reassess templating, canal preparation, restrictor depth and device compatibility when the canal is wide, bowed, irregular, revised or otherwise atypical. Escalate the plan to the operating surgeon and consult the device instructions.
How should a hospital compare restrictors and suppliers?
Compare documented size ranges, insertion instruments, radiopacity, packaging and traceability, instructions for use, regulatory documentation, delivery reliability and technical support—not price alone.